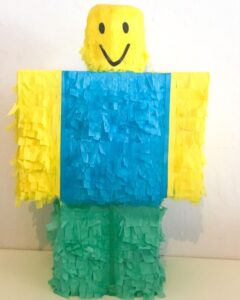
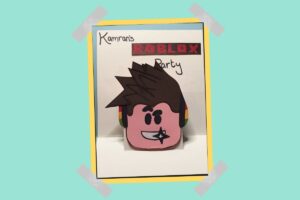
Every party needs a Pinata and every Roblox themed party needs a Noob pinata!
Here I will show you how I created this Roblox Noob Pinata for a fraction of the cost of store-bought pinatas, and hopefully enable you to do the same.
Ok, let’s slow it down, after all, I’m still getting over the fact that just as I learnt all the names of Paw Patrol dogs, he moved on to Roblox.
What is a Noob?
If you asked me a few weeks ago what a Noob was you would have got a blank stare in response. Kids move between interests so quickly, as parents sometimes it is hard to keep up.
I asked my 6-year-old son ‘What is a Noob?’ and his answer was very enlightening.
‘It’s someone who is new, like if they have never played Roblox before, and they are still a bacon hair or a yellow man, can I have a biscuit please?’
Don’t worry, I’ll translate.
Basically, it is someone who is new to playing Roblox. A bacon hair noob, as he put it is someone who still has one of the default avatars given in the game.
Apparently, before the bacon hair update in 2014 a user was given the, now iconic, yellow figure with a blue shirt and green trousers.
Don’t quote me on those details, I’m just a mum trying to understand the world of Roblox ready for a birthday party, but hopefully, it will give you an idea.
You Will Need
Cardboard boxes
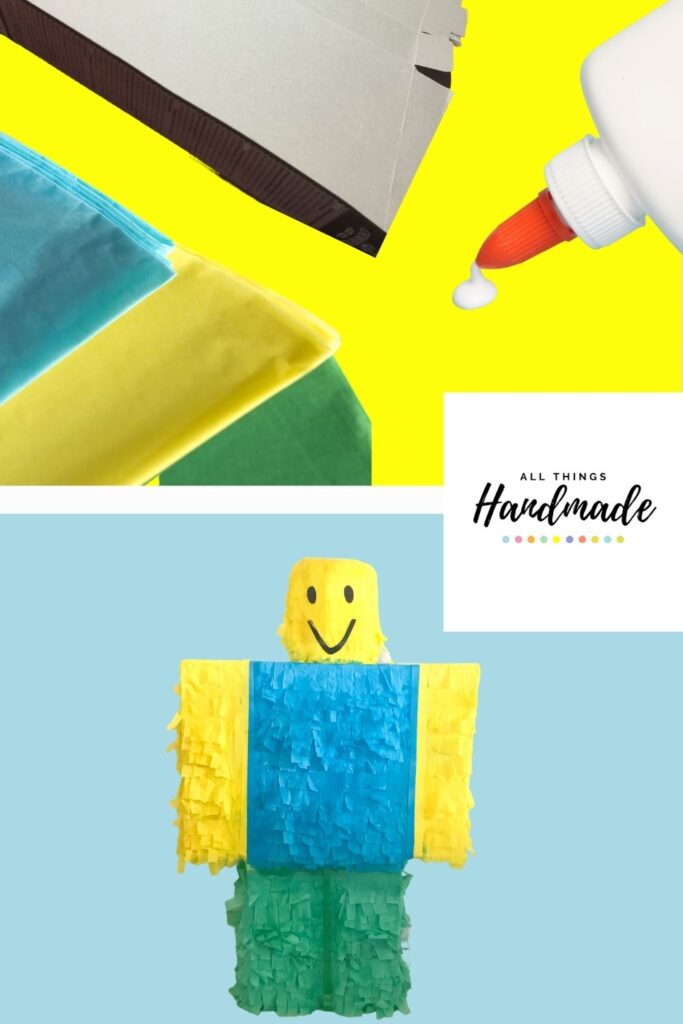
Coloured paper in yellow, green and blue
Crepe Paper in yellow, green and blue
Masking tape
Glue
Black card
I have included links to some products. As an Amazon Associate, I earn from qualifying purchases.
HOW TO - Roblox Noob Pinata
Step 1
The Noob's Body
The structure of the Roblox Noob pinata was quite simple. Basically 2 boxes and a tube for the Noob’s head.
The top box I was lucky to find exactly the dimensions I wanted.
As I wanted this part is quite strong and indestructible, I left the box as it was and covered it in coloured paper.
I will include a picture below of the exact dimensions I used for the Noob pinata.
Step 2
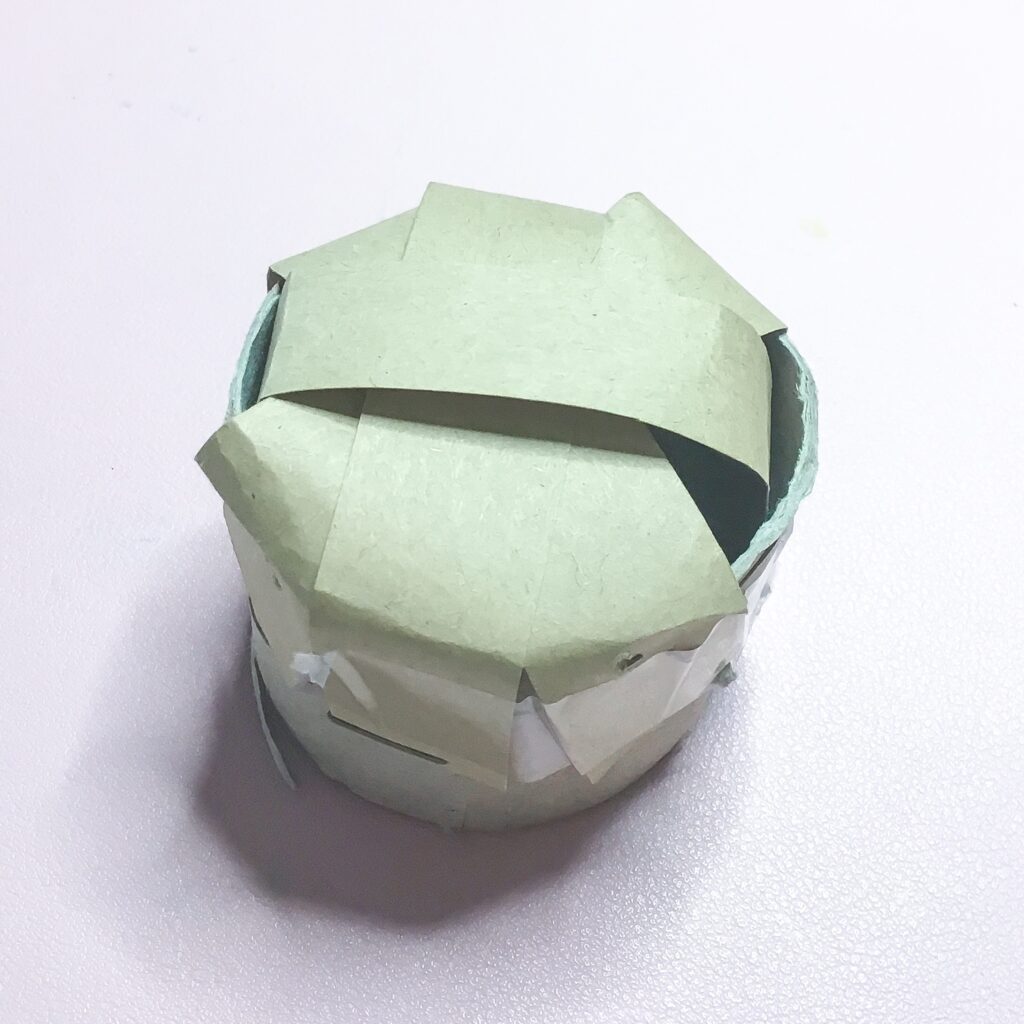
The Noob's Head
This has to be strong. It is going to hang from a tree, or wherever else you choose, from its head.
To start, I cut a cereal box into one long flat piece of card. This was rolled around a bottle to get a tube shape.
I layered 4 strips of card over the top of the Noob’s head and stapled them down to the sides.
I used about 3 layers of yellow paper and PVA glue. Once this was dry it made quite a strong base.
Step 3
Hanging Your Noob
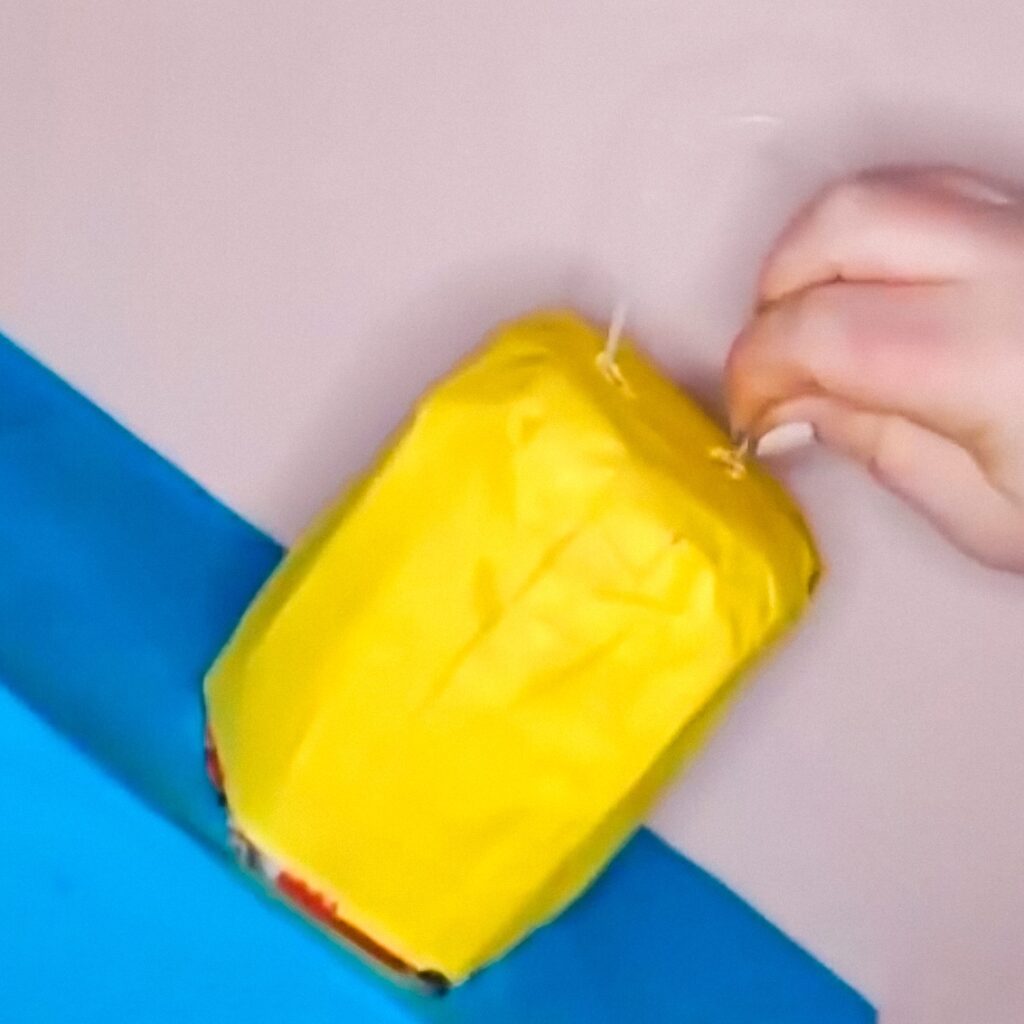
Before you attach the Noob’s head to the body, while you can still reach underneath, add a hanging loop.
I got my husband to drill 2 holes in the top of the head. Not huge but big enough to fit a cable tie through.
From the inside, I pushed the tie out one hole on the Noob’s head and back in the other.
I fastened it on the inside so the large part of the cable tie couldn’t be seen.
Step 4
Making The Noob’s Legs
Making the Noob’s leg was only slightly different from the body. This is supposed to break apart with ease, so instead of using a premade cardboard box, I made my own.
I cut 5 pieces of card.
2 x 18cm x 19cm
2 x 19cm x 15cm
1 x 18cm x 15cm
I arranged them into a box shape and stuck them together with individual pieces of masking tape. The video really explains how I stuck the Noob together better than I could but I hope the picture explains a little.
The final part of the leg section was to cover in green coloured paper and PVA glue, to give them the correct colour for a Noob’s legs.
Step 5
Putting Together Our Noob
To attach the Noob’s legs to its body I first used masking tape. I used 4 or 5 strips on each side (shown in the picture) to secure it.
Then using PVA glue I added over lapping sheets of coloured paper the strengthen the join.
Step 6
Decorating Your Pinata
It takes some time but once it is done your Noob pinata will be transformed into a beautiful party decoration.
The crepe paper is really easy to stick to the pinata so pretty much any glue sticks, PVA or other liquid glue would work.
This pinata only took me 3 packets of crepe paper to cover, one in each colour.
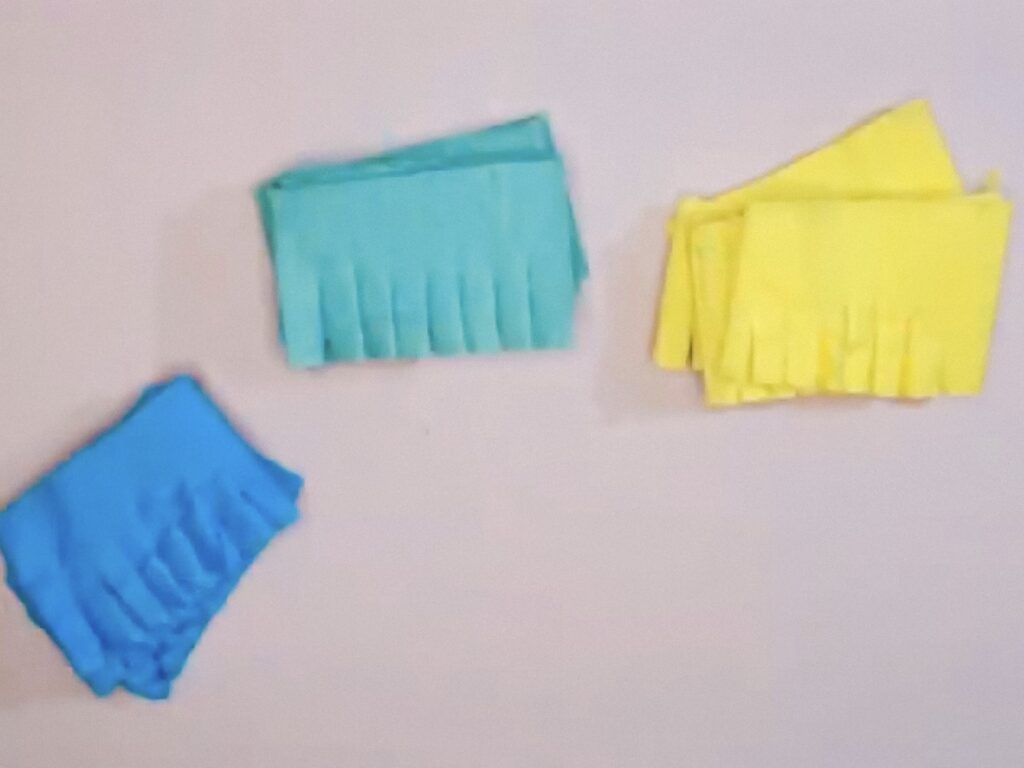
I took the packs and without unrolling the paper, cut the pack into about 6 even pieces. I then cut into the pieces about halfway up to make a long fringed roll. (Shown in picture)
Then you are ready to begin unrolling the paper and attaching it to your pinata.
Attaching The Fringing To Your Pinata
Start from the bottom of your pinata and work upward.
Add glue to the pinata, just above the bottom edge and stick down the crepe paper making sure it overhangs the bottom of the pinata slightly.
Keep working upwards, half overlapping the below layer, until you reach the top.
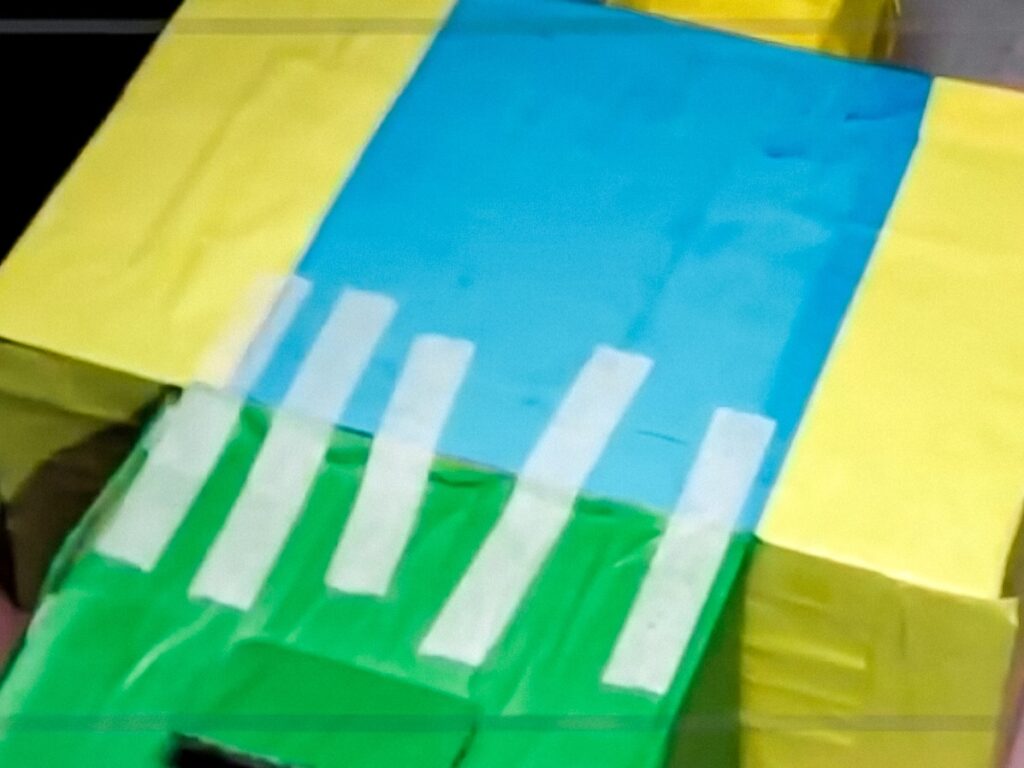
Adding The Details
The only thing left to do is to add the small details to your pinata. In the case of the noob, it is the face and line down the middle of his legs. I also added some strips of yellow and blue paper to properly section his arms and torso.
All the details were cut out of coloured paper or card. The smile and eyes were black card because I didn’t have black paper.
I stuck the details down using PVA glue and added a layer of glue on top to properly secure them.
Dimensions For Roblox Noob Pinata
Not ready to make this right now?
Don’t forget to pin it for later!
For more ideas check out my other posts on the blog page.
Or head across to our youtube channel All Things Handmade for more diy and party planning videos.


