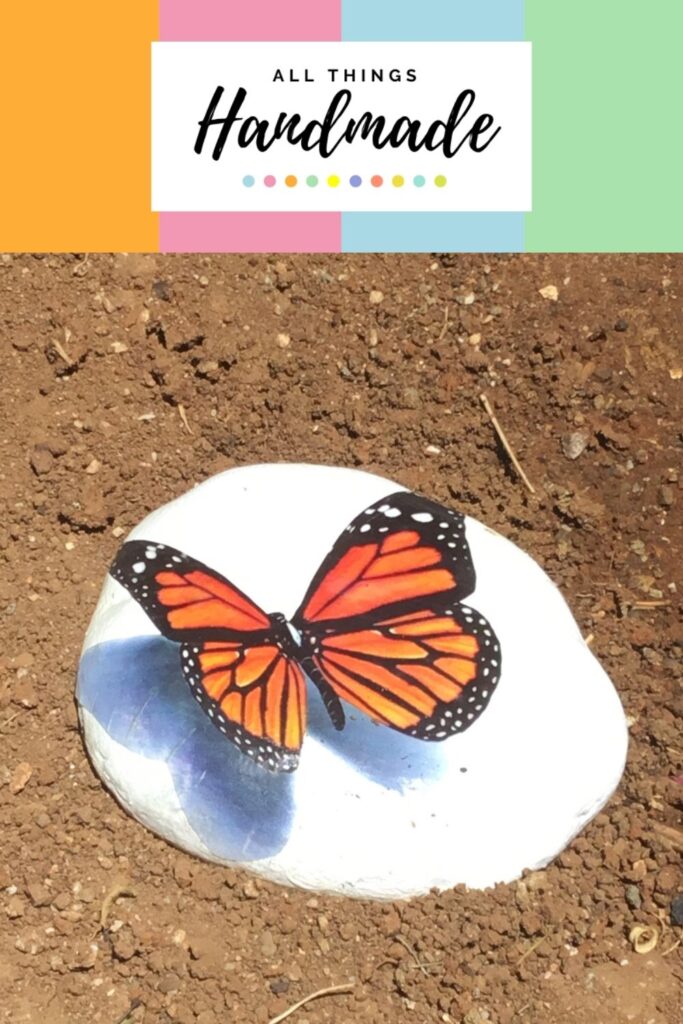
We have been getting our garden ready for summer, and with that wanted to create a beautiful rock decoration to dot around. I love painting rocks but this can be very time-consuming.
I wanted some really quick and easy painted rocks that could be in my garden almost immediately.
Using an inkjet printer and some PVA glue I decorated these rocks in a matter of hours. It really is a simple and fun afternoon craft. This method could be used with any design. Why not create them together with children in their favourite character.
You Will Need
A Rock
Acrylic Paint
PVA Glue
Printed Picture
Acrylic Sealer Spray
Acrylic Paint Pens (for optional details)
I have included links to some products. As an Amazon Associate, I earn from qualifying purchases.
HOW TO - Rock Decoration with Inkjet printer
Step 1
Print Out Image
Print your chosen picture and cut. Try to leave as little border as possible, especially if your rock is not white.
Step 2
Paint Your Rock
I put 2 coats of white acrylic paint on my rock decoration. Leave to dry completely before moving on to the next step.
Step 3
Rock Decoration with Inkjet Printout
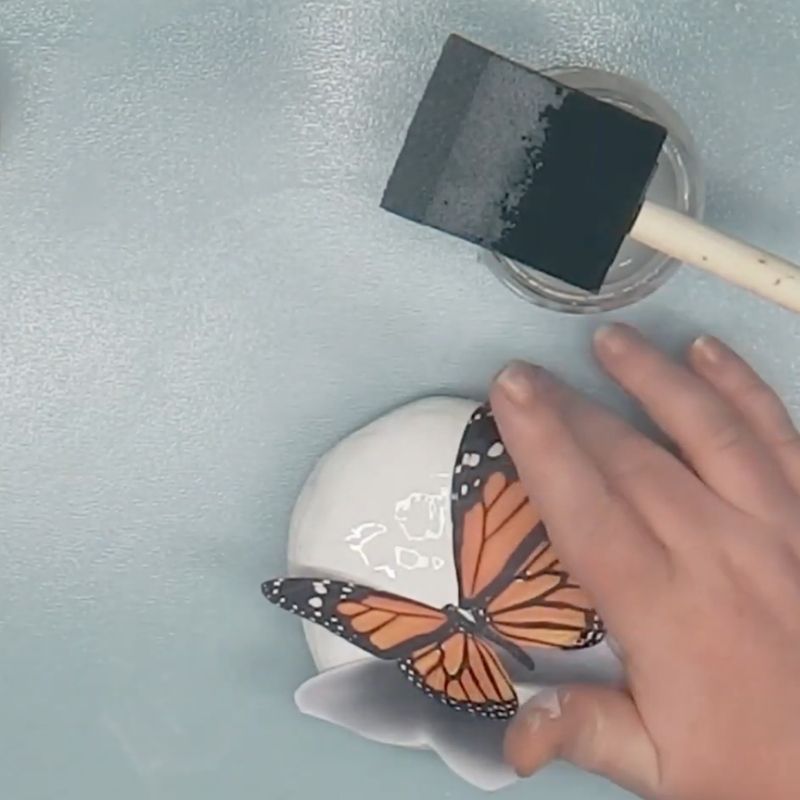
Paint a thin layer of pva glue onto the rock.
Position picture on to rock, then smooth out creases and make sure the edges are properly stuck down.
Step 4
Sealing the Image onto The Rock Decoration
To seal the image I used Clear spray acrylic sealant. I have found this to be the best option to avoid the image ink running.
Not ready to make this right now?
Don’t forget to pin it for later!
For more ideas check out my other posts on the blog page.
Or head across to our youtube channel All Things Handmade for more DIY and party planning videos.


